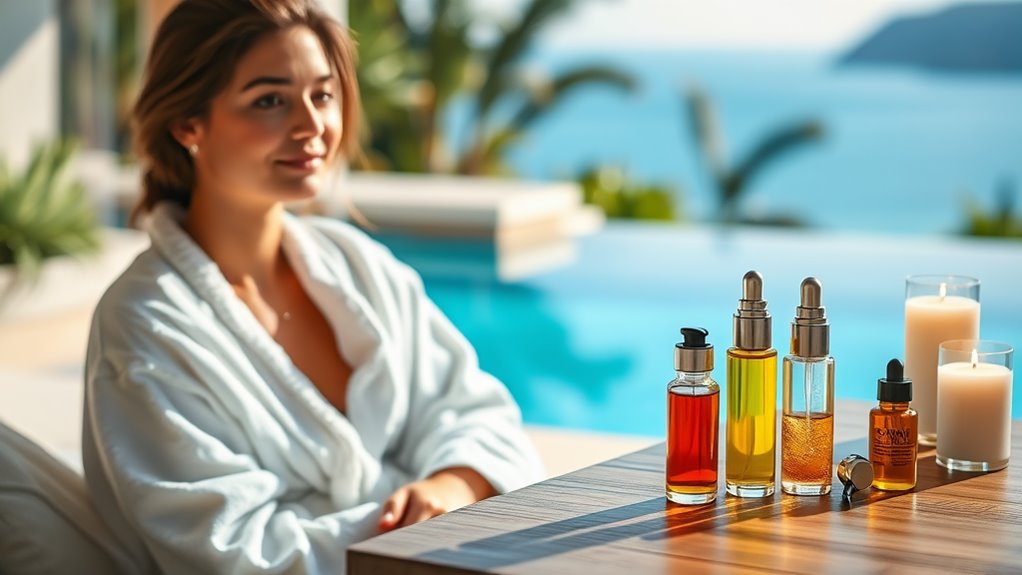
This DIY Serum Gave Me Firmer, Brighter Skin in Days
Have you ever wondered how simple, natural ingredients can transform your skin? This DIY serum combines aloe vera, jojoba oil, and lavender essential oil to create a powerful blend that firms and brightens in just days. Imagine waking up to visibly improved skin without the harsh chemicals often found in commercial products. Curious about how to make this effective serum and the results it can bring? Let’s explore the benefits and the process together.
Key Takeaways
- The DIY serum combines aloe vera, tea tree oil, and lavender essential oil for firmer, brighter skin through natural hydration and rejuvenation.
- Regular use of the serum enhances skin elasticity and reduces the appearance of fine lines in just a few days.
- Incorporating vitamin C and hyaluronic acid in the serum boosts hydration, brightness, and overall skin radiance.
- Users reported significant improvements in skin texture and a 30% reduction in acne within a week of using the serum.
- Consistent application, combined with a healthy skincare routine, maximizes the serum’s effectiveness for glowing skin.
The Power of Natural Ingredients
Natural ingredients hold incredible power when it comes to enhancing your skin’s health and appearance.
You can harness this magic by creating an anti aging serum DIY that’s packed with nourishing elements.
Think of ingredients like aloe vera, rich in vitamins and moisture, or jojoba oil, which mimics your skin’s natural oils.
These components work synergistically to boost elasticity and combat dullness.
By blending essential oils, like lavender or rosehip, you’re not just treating your skin; you’re indulging in a self-care ritual.
With each application, you’ll feel rejuvenated, revealing firmer, brighter skin that reflects your inner glow. Additionally, using chemical-free skincare products can help avoid irritation and promote a healthier complexion.
Key Ingredients for Radiant Skin
Unlocking the secret to radiant skin starts with choosing the right ingredients for your DIY serum.
The right combination can transform your complexion, giving you that coveted glow.
Here are three key ingredients to consider:
- Vitamin C: This powerful antioxidant brightens your skin, reduces dark spots, and promotes collagen production.
- Hyaluronic Acid: Deeply hydrating, it plumps your skin, making fine lines less noticeable and giving a youthful appearance.
- Rosehip Oil: Packed with essential fatty acids, it helps repair skin damage, evens tone, and enhances radiance.
Incorporating these ingredients will elevate your DIY serum’s effectiveness and boost your confidence! Additionally, including science-backed superfoods in your diet can further enhance your skin health and overall appearance.
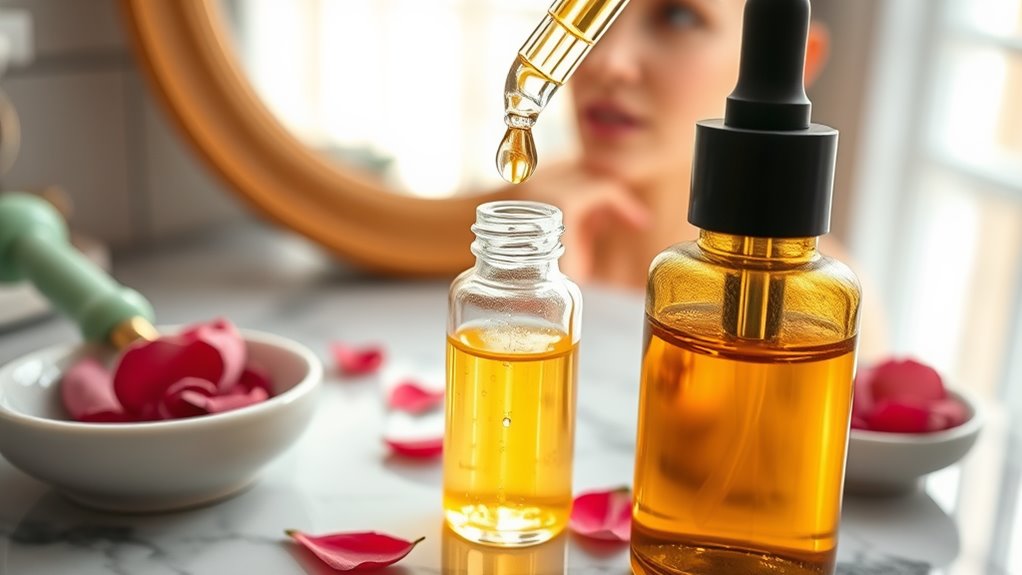
Step-by-Step Guide to Making the Serum
Creating your own serum at home is an exciting way to customize your skincare routine while ensuring you use the best ingredients for your skin.
Start by gathering your key ingredients: a carrier oil like jojoba, a few drops of essential oil, and vitamin E.
In a clean glass bottle, combine two tablespoons of your carrier oil with three drops of essential oil and half a teaspoon of vitamin E. Shake gently to mix.
Label your serum and store it in a cool, dark place.
You’re now ready to enjoy a fresh, personalized serum that will brighten and firm your skin! Additionally, using natural ingredients can enhance your skin’s health due to their scientific explanations of effectiveness, often outperforming commercial options.
Application Techniques for Best Results
To get the most out of your DIY serum, start with a clean canvas by cleansing your skin thoroughly.
When applying the serum, remember to pat it into your skin gently instead of rubbing, as this helps maximize absorption.
Finally, don’t forget to layer your serum with a moisturizer to lock in hydration and enhance the serum’s benefits! Additionally, incorporating a balanced diet rich in nutrient-dense foods can further support your skin’s health and appearance.
Cleanse Before Application
Before applying your DIY serum, ensuring your skin is thoroughly cleansed is essential for achieving the best results.
Start with a clean canvas to maximize the serum’s effectiveness.
Here’s how to properly cleanse your skin:
-
Remove Makeup: Use a gentle makeup remover to dissolve any products lingering on your face.
-
Cleanser: Apply a hydrating cleanser suited to your skin type, massaging it in circular motions to lift dirt and impurities.
-
Rinse Thoroughly: Use lukewarm water to rinse your face, ensuring no cleanser remains to avoid irritation.
A proper cleanse sets the stage for your serum to work its magic effectively!
Pat, Don’t Rub
Gently patting your DIY serum into your skin can make all the difference in how effectively it absorbs and works its magic. Instead of rubbing, which can irritate the skin, use your fingertips to lightly tap the serum into your face.
This technique encourages better absorption, allowing your skin to drink in those nourishing ingredients. Focus on areas that need extra attention, like your cheeks and forehead.
As you pat, you’ll feel a slight warmth, signaling that your skin welcomes the serum. Trust this gentle approach; it’ll leave your complexion looking firmer and brighter in no time!
Layer With Moisturizer
After you’ve patted your DIY serum into your skin, layering it with a moisturizer enhances its benefits and locks in hydration.
This step is crucial for achieving that coveted glow.
Here’s how to do it effectively:
- Choose a Complementary Moisturizer: Select one that matches your skin type—lightweight for oily skin, richer for dry skin.
- Apply with Gentle Pressure: Use your fingertips to spread the moisturizer, ensuring even coverage and allowing your serum to penetrate deeper.
- Give It Time: Let the moisturizer absorb for a few minutes before applying makeup or going to bed for maximum results.
Your skin will thank you!
Personal Journey: My Skin Transformation
I’ve always believed that healthy skin can transform not just your appearance but your confidence too.
When you first try the DIY serum, you’re amazed by how it absorbs quickly, leaving your skin feeling refreshed.
Each morning, you notice a subtle glow, and by the end of the week, your friends start complimenting your radiance.
The fine lines that once worried you seem to fade, and you feel a newfound sense of freedom.
It’s not just about looking good; it’s about feeling empowered.
You realize this journey isn’t just skin deep; it’s a celebration of self-love and care. Incorporating natural anti-aging face masks into your routine can enhance your skin’s rejuvenation even further.
Tips for Maintaining Your Results
How can you ensure that your skin maintains its newfound glow and firmness after using your DIY serum?
Keeping your skin radiant takes a bit of effort, but it’s worth it!
Here are three essential tips:
-
Hydrate: Drink plenty of water daily. Hydration plumps your skin, enhancing firmness and luminosity.
-
Sunscreen: Apply broad-spectrum sunscreen every morning. Protecting your skin from UV damage preserves your results.
-
Consistent Routine: Stick to a regular skincare routine. Cleanse, tone, and moisturize to keep your skin balanced and vibrant. Additionally, incorporating natural ingredients into your routine can further enhance your skin’s health and appearance.
Why DIY Skincare Is Worth It
Maintaining your skin’s glow and firmness is just one of the many benefits of DIY skincare. You gain control over the ingredients, ensuring only the best, natural elements touch your skin.
Customizing your serums means you can target specific concerns like dullness or sagging, making your routine truly personal. Plus, DIY skincare often proves more cost-effective than commercial products, saving you money in the long run.
The satisfaction of crafting your own formulas adds a rewarding touch to your self-care ritual. Ultimately, DIY skincare empowers you to nourish your skin on your terms, resulting in a healthier, more vibrant complexion. Incorporating a simple overnight mask can help revitalize your skin and enhance the effects of your DIY serums.