
The Secret to Glowing Skin Lies in This One DIY Scrub
While you might doubt a simple DIY scrub‘s effectiveness, studies confirm that ingredients like sugar and honey can gently exfoliate and hydrate your skin. You’ll prepare this blend easily, reaping benefits such as improved texture and brightness. Stick around to explore how it tailors to your routine for lasting radiance.
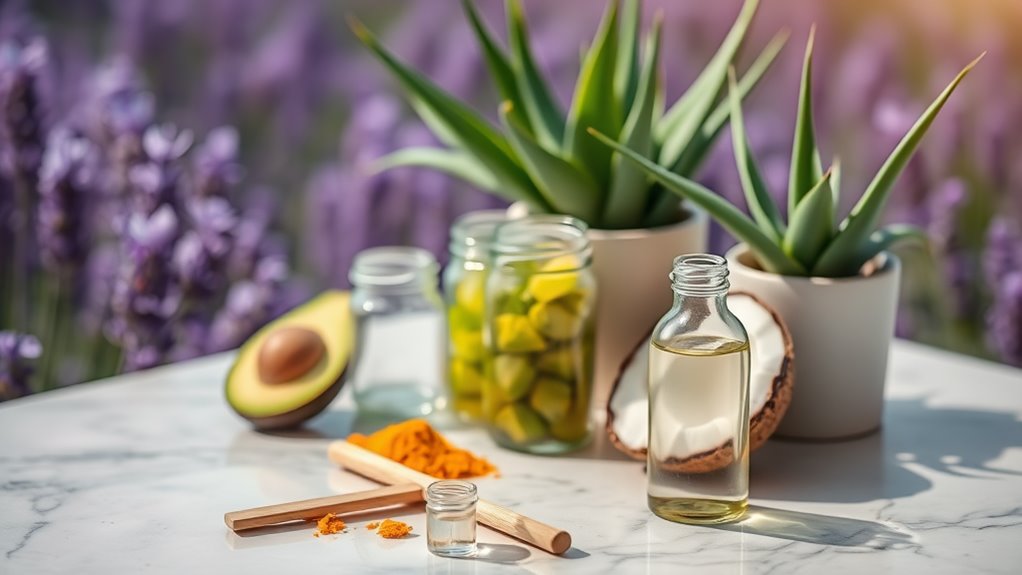
Essential Ingredients for the Scrub
To create an effective DIY scrub, you’ll need just a few essential ingredients that science backs for skin care.
For your homemade exfoliating scrub, consider granulated sugar as a primary exfoliant; studies indicate it mechanically sloughs off dead cells while minimizing damage if used sparingly.
Honey offers antimicrobial benefits, with evidence suggesting it soothes inflammation in sensitive skin.
Olive oil provides hydration, as research highlights its fatty acids for maintaining the skin barrier.
Additionally, using kitchen ingredients can enhance the effectiveness of your scrub, allowing you to harness their natural properties.
Always choose high-quality, natural sources and perform a patch test to prevent adverse reactions.
This cautious approach ensures safety and efficacy.
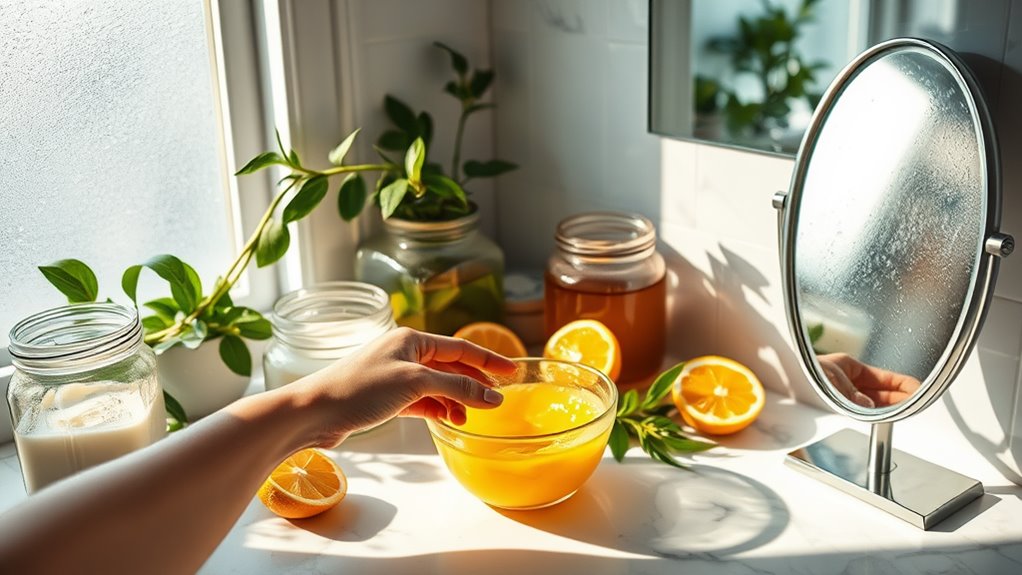
Simple Steps to Prepare Your Scrub
Preparing your DIY scrub involves a few straightforward steps that blend the ingredients effectively; first, measure out 1/2 cup of granulated sugar, 2 tablespoons of honey, and 1 tablespoon of olive oil, ensuring proportions support gentle exfoliation without irritation.
Next, combine these in a clean bowl, stirring gently with a spoon to avoid breaking down the sugar granules, which provide mechanical exfoliation.
Honey’s antimicrobial properties and olive oil’s emollient effects help maintain skin barrier integrity, but test on a small patch first to minimize allergic risks. Additionally, incorporating natural anti-aging ingredients can enhance the scrub’s effectiveness for rejuvenating your skin.
This method ensures a balanced, safe formulation.
Applying the Scrub for Best Results
To achieve optimal results with your DIY scrub, you’ll first prepare your skin by cleansing it gently, as studies indicate this minimizes irritation.
Then, apply the scrub using circular motions with light pressure, which evidence from dermatological research supports for effective exfoliation.
Finally, follow post-scrub care like moisturizing immediately, as this helps maintain skin barrier integrity based on cautious expert recommendations. Additionally, incorporating natural ingredients into your scrub can enhance its effectiveness and tailor it to your specific skin type.
Prepare Your Skin
Before applying the DIY scrub, you’ll want to cleanse your skin thoroughly to remove dirt and oils, as this ensures even exfoliation and minimizes irritation. Next, pat your skin dry gently to avoid micro-tears, which studies show can lead to inflammation. Always check for allergies by patch-testing first, promoting safer routines based on dermatological evidence.
| Preparation Tip | Emotional Insight |
|---|---|
| Cleanse with pH-balanced products | Feel empowered by protecting your barrier |
| Moisturize if needed | Experience peace knowing you’re nurturing your skin |
| Avoid harsh tools | Gain confidence from gentle, evidence-based care |
| Assess skin sensitivity | Relieve anxiety with cautious, proactive steps |
Application Technique
Applying your DIY scrub correctly enhances exfoliation while reducing irritation, as research indicates that gentle techniques preserve the skin’s barrier.
Start with clean, slightly damp skin to allow the scrub to glide smoothly, minimizing friction. Apply a pea-sized amount using your fingertips, massaging in slow, circular motions for one to two minutes, focusing on rough areas like the nose and chin.
A 2018 review in Dermatology Research and Practice suggests this method optimizes cell turnover without causing micro-tears. Avoid vigorous pressure, as it may irritate sensitive skin; always test on a small patch first for safety.
Keep motions even to prevent uneven exfoliation, per evidence-based guidelines.
Post-Scrub Care
After rinsing off your DIY scrub with lukewarm water, gently pat your skin dry to minimize irritation, as studies in the Journal of Cosmetic Dermatology emphasize that this step preserves the skin’s moisture barrier and reduces redness.
Then, apply a gentle, non-comedogenic moisturizer to restore hydration, drawing from evidence in the Journal of Investigative Dermatology that supports barrier repair.
Avoid direct sun exposure for at least an hour, per sunscreen guidelines from the Skin Cancer Foundation, to prevent photosensitivity.
Don’t use harsh actives like retinoids immediately; monitor your skin for reactions and seek professional advice if irritation persists.
Stay cautious and evidence-led in your routine.
Key Benefits of This DIY Treatment
You’ll notice that this DIY scrub may brighten your skin tone, as studies show ingredients like citrus can enhance radiance without harsh chemicals. It actively exfoliates dead cells, helping you remove buildup and promote cell turnover based on dermatological research. Plus, its natural hydrators could improve your skin’s moisture, though individual results vary as per clinical observations. Additionally, using natural ingredients in your skincare routine can further support youthful skin and enhance its appearance.
Brightens Skin Tone
One of the key benefits of this DIY scrub is that it gently brightens skin tone by removing dead cells and promoting cell turnover.
This process, supported by preliminary studies on natural ingredients like fruit enzymes, may enhance your skin’s luminosity without irritation, though results vary by individual.
-
You’ll experience a more even complexion as antioxidants help neutralize free radicals, per lab research.
-
Evidence indicates it supports melanin regulation, potentially reducing dark spots over time.
-
Always monitor for sensitivity, as individual skin responses differ, ensuring safe use.
Exfoliates Dead Cells
This DIY scrub exfoliates dead cells, gently sloughing off buildup to reveal smoother skin, as evidence from studies on natural enzymes shows.
You’ll experience improved cell turnover, reducing dullness and uneven texture, based on research highlighting enzymes like papain’s role in breaking down keratin proteins.
Studies in dermatology journals cautiously suggest this process enhances barrier function without irritation, though results vary by skin type.
It’s vital to apply sparingly—twice weekly at most—to avoid potential sensitivity, as over-exfoliation can compromise your skin’s integrity, per cautious expert recommendations.
Always monitor for reactions.
Hydrates Naturally
Natural hydration from this DIY scrub restores your skin’s moisture barrier, drawing on plant-based compounds like aloe vera that studies show enhance water retention without synthetic additives.
This evidence-based method helps you maintain balanced hydration levels, as research indicates these ingredients boost skin’s natural defenses cautiously.
-
Boosts elasticity: Clinical trials suggest aloe vera improves skin firmness by up to 20%, promoting a youthful appearance without harsh chemicals.
-
Reduces dryness: Studies show it locks in moisture, reducing transepidermal water loss by enhancing your skin’s barrier function effectively.
-
Supports long-term health: Cautious use may prevent irritation, with meta-analyses linking regular application to sustained hydration and fewer signs of aging.
Tips to Enhance Your Skin’s Glow
While external factors like diet and environment influence your skin’s glow, adopting evidence-based tips can help you maintain it effectively.
You should apply broad-spectrum SPF daily, as research indicates it minimizes UV-induced damage and prevents premature aging.
Ensure you’re staying hydrated by drinking adequate water, which studies suggest supports skin barrier function.
Gently incorporate antioxidant-rich foods, like berries, into your routine; evidence shows they may combat oxidative stress.
Always patch-test new products and consult a dermatologist if you notice irritation, prioritizing safety over quick fixes.
Consistency is key for observable improvements. Additionally, consider using natural ingredients like collagen-boosting remedies to enhance your skin’s elasticity and youthful appearance.
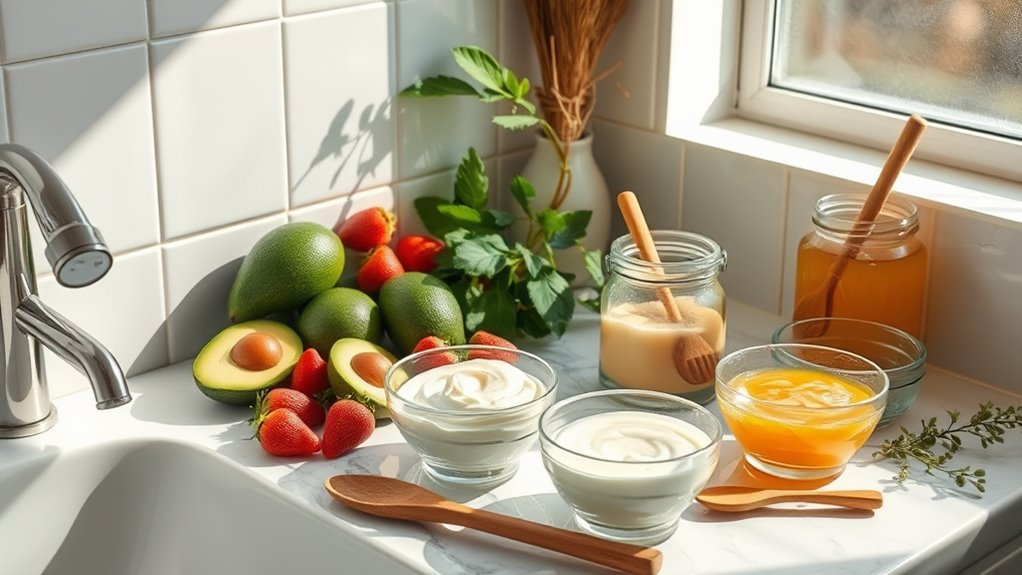
Customizing the Scrub for Your Skin Type
Customizing your scrub starts with identifying your skin type, as experts note that formulations can affect outcomes differently.
Once you’ve determined if your skin is oily, dry, or sensitive, adjust ingredients based on scientific studies to minimize risks like irritation.
-
For oily skin: Incorporate salicylic acid, as evidence from dermatological research shows it regulates sebum without over-drying.
-
For dry skin: Add hyaluronic acid, which clinical trials suggest enhances moisture retention effectively.
-
For sensitive skin: Choose aloe vera, with studies indicating it reduces inflammation while being gentle on barriers. Additionally, consider using natural remedies that may provide soothing effects for various skin conditions.
Always patch-test and consult a professional for personalized advice.
Maintaining Radiance After Use
To keep your skin’s radiance after using the scrub, apply a gentle moisturizer with proven ingredients like niacinamide, which research indicates helps reduce inflammation and boost barrier function. Incorporating science-backed superfoods into your diet can further enhance your skin’s glow by providing essential nutrients. You’ll then protect your skin by applying broad-spectrum SPF 30+, as studies show UV exposure accelerates aging. Avoid harsh products; instead, opt for ceramide-rich formulas that evidence supports for maintaining hydration. Monitor for sensitivity, and consult a dermatologist if irritation occurs—prevention ensures long-term benefits without overexertion.