I Make This Balm When My Skin Feels Dry and Tired
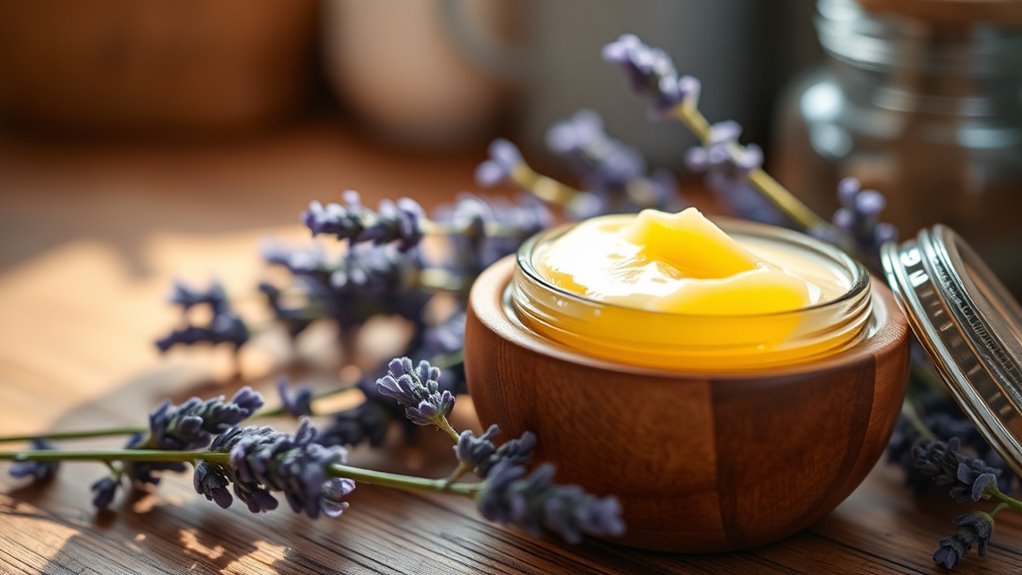
When your skin feels dry and tired, turning to a nourishing balm can be a game changer. This soothing blend, infused with moisturizing sweet almond oil and shea butter, can work wonders for your skin’s hydration levels. You’ll appreciate how it rejuvenates your complexion while the calming scent of lavender soothes your senses. Curious about how to create this revitalizing balm at home? Let’s explore the essential ingredients and the simple steps to make it yourself.
Understanding the Benefits of a Nourishing Balm
A nourishing balm is like a soothing hug for your skin, delivering essential moisture and protection where it’s needed most. When your skin feels dry and tired, a DIY skin balm becomes your best friend. Its rich and creamy texture locks in hydration, preventing moisture loss and promoting a soft, supple feel.
The healing properties can soothe irritation and help repair the skin barrier, especially after harsh weather or exposure to irritants. Not only is it easy to customize with scents and additional benefits, but you’ll also know exactly what’s going onto your skin. Moreover, incorporating natural anti-aging ingredients can enhance the balm’s ability to promote collagen production, ensuring that your skin remains youthful and radiant.
Plus, making your own balm allows you to embrace the joy of creation, ensuring your skin gets the nurturing it deserves.
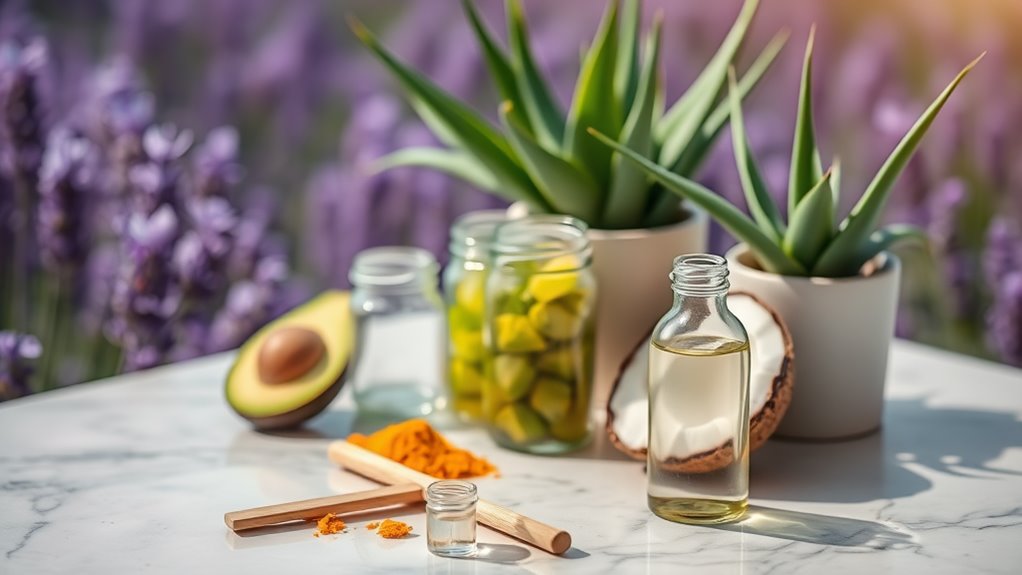
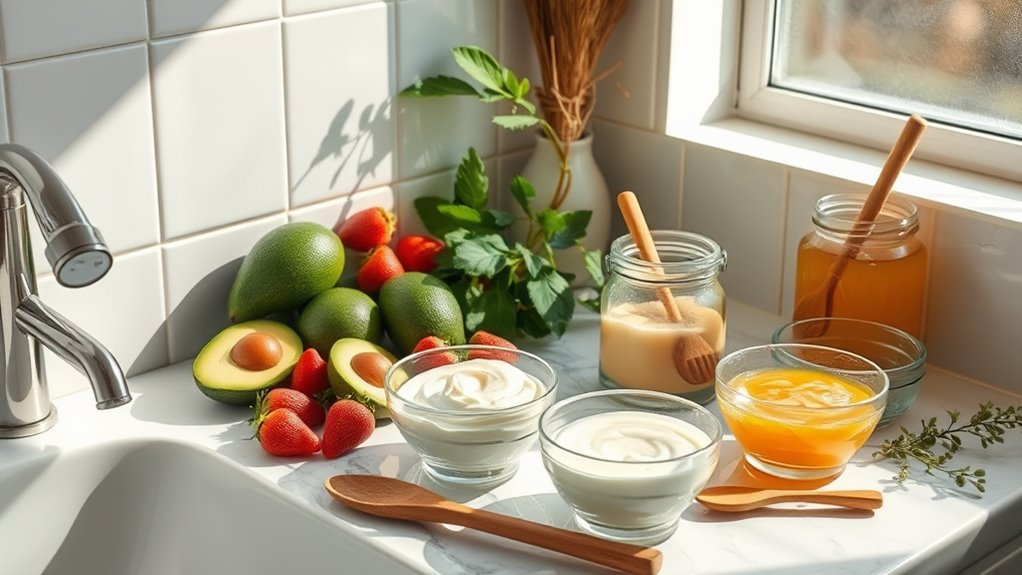
Essential Ingredients for Your Balm
When crafting your own skin balm, focusing on the right ingredients makes all the difference. Start with a rich base oil like sweet almond or jojoba; they’re nourishing and absorb quickly.
Next, add a solidifying agent, such as beeswax or candelilla wax, which helps create that ideal texture. To amplify your balm’s moisture, consider including shea butter or cocoa butter—they’re both packed with fatty acids.
Essential oils like lavender or tea tree bring not just fragrance but also skin benefits. If you’re dealing with extra dryness, add a few drops of vitamin E oil for its potent antioxidant properties.
Additionally, it’s important to ensure that all ingredients are chemical-free skincare products to maintain the safety of your balm.
Each ingredient plays a role, so choose wisely to cater to your skin’s unique needs.
Step-by-Step Guide to Making the Balm
Crafting your own skin balm can be a rewarding experience, and following a clear step-by-step guide makes it even easier.
Start by gathering your essential ingredients and measuring out the correct amounts of beeswax, carrier oils, and any chosen essential oils.
Next, melt the beeswax in a double boiler over low heat, stirring until it’s fully liquid. Gradually mix in your chosen oils, combining them seamlessly.
Once everything’s melted together, remove the mixture from heat, and pour it into small containers or jars. Allow the balm to cool completely before sealing.
Finally, label your creations, but don’t forget to test a small amount on your skin first. Your homemade balm is ready to soothe and nourish! Additionally, using natural ingredients like carrier oils can enhance the balm’s moisturizing properties, making it more effective for dry skin.
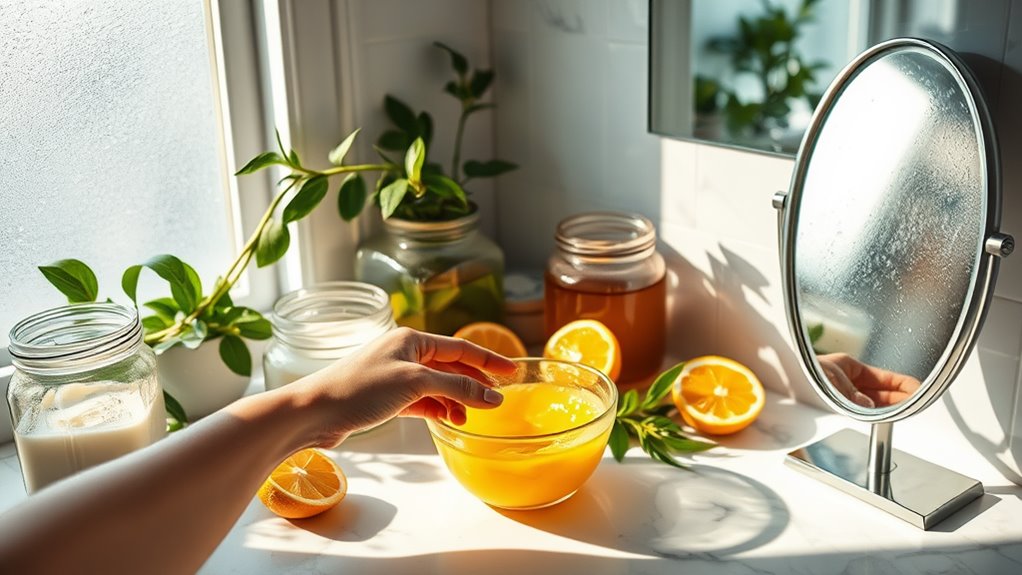
Tips for Application and Best Practices
To make the most of your homemade skin balm, applying it correctly can greatly enhance its benefits. Here are some tips to ensure you get the best results:
-
Choose the Right Time: Apply your balm right after showering when your skin is still slightly damp; this helps lock in moisture.
-
Use Clean Hands: Always start with clean hands to prevent introducing bacteria to your skin.
-
Warm It Up: Rub a small amount between your palms to soften it before applying, ensuring easier absorption.
-
Massage Gently: Use gentle, circular motions when applying the balm; this can promote circulation and enhance the relaxation experience. Additionally, incorporating simple skincare routines can support the overall health of your skin and amplify the balm’s effects.
Storing and Preserving Your Homemade Balm
Properly storing and preserving your homemade balm is essential to maintain its effectiveness and extend its shelf life.
First, choose a clean, airtight container to prevent air and moisture from degrading the balm. Glass jars work great, but dark-colored containers can protect against light exposure.
Keep your balm in a cool, dry place away from direct sunlight; a dark cabinet is ideal.
Avoid using your fingers when scooping out balm; instead, use a clean tool to minimize contamination.
If you notice any changes in texture, smell, or color, it’s best to discard it.