DIY Anti-Wrinkle Serum Using Ingredients You Already Own
You can easily make your own anti-wrinkle serum at home using everyday items like honey, olive oil, and green tea, which offer evidence-based benefits such as antioxidants to combat free radicals and support skin elasticity. Mix them carefully for optimal results, always prioritizing fresh ingredients and clean tools to avoid irritation. You’ll uncover detailed steps, application tips, and storage advice just ahead.
Key Takeaways
- Use household ingredients like honey, olive oil, and green tea for their antioxidant and anti-wrinkle benefits.
- Select fresh, high-quality items and sterilize tools to ensure safe preparation.
- Measure ingredients accurately and mix thoroughly for a uniform, effective serum.
- Apply the serum to clean, damp skin with light pressure to enhance absorption.
- Store in a cool, dark place and use once or twice daily, monitoring for improvements.
Essential Ingredients for Homemade Serum
Creating your own anti-wrinkle serum starts with choosing essential ingredients that research supports for skin health. When crafting your homemade wrinkle serum, you prioritize evidence-based options like antioxidants and peptides, which studies suggest may combat oxidative stress and support skin elasticity. You’re selecting ingredients with proven potential, such as those targeting free radicals or enhancing hydration, but always cautiously—individual results vary, and what works in labs mightn’t translate perfectly to your skin. To build an effective formula, focus on concentrations backed by research, avoiding potential irritants. This methodical process ensures you’re making a safe, personalized product, empowering you to address wrinkles proactively while minimizing risks. Moreover, drawing from natural remedies commonly found at home can further amplify the benefits of your serum by integrating everyday ingredients into your skincare routine. Additionally, incorporating ingredients that promote collagen production is key to enhancing overall skin rejuvenation.
Anti-Aging Benefits of Common Kitchen Items
Many everyday kitchen staples, like honey or olive oil, offer potential anti-aging benefits through compounds such as antioxidants, which studies indicate may combat oxidative stress and improve skin elasticity. You can explore these items to enhance your skincare routine, as research suggests they might reduce signs of aging without harsh chemicals. For instance, honey’s flavonoids could protect your skin, while olive oil’s fatty acids may boost hydration. Additionally, creating a DIY face mask from these ingredients can provide a holistic approach to maintaining youthful skin, drawing from evidence-based natural remedies. Moreover, incorporating science-backed superfoods into your diet can enhance overall skin radiance based on emerging research.
| Ingredient | Potential Benefit | Supporting Evidence |
|---|---|---|
| Honey | Fights free radicals and hydrates | Studies show antioxidants may lower oxidative damage. |
| Olive Oil | Improves skin barrier and elasticity | Research indicates oleic acid helps maintain moisture. |
| Green Tea | Reduces inflammation and wrinkles | Evidence suggests catechins combat UV-induced aging. |
Selecting and Preparing Your Supplies
You need to carefully select ingredients based on their proven anti-aging properties, such as those from reliable studies on natural compounds.
Once you’ve chosen them, prepare your supplies by cleaning and measuring everything accurately to maintain safety and effectiveness.
It’s essential to use fresh, high-quality items to support the serum’s potential benefits without introducing contaminants.
Furthermore, exploring scientific explanations of these natural alternatives can enhance your understanding of their superior performance compared to commercial options.
Select Ingredients
When choosing ingredients for your DIY anti-wrinkle serum, focus on those with scientific backing, such as antioxidants like vitamin C or hyaluronic acid, to ensure they’re effective and safe.
You’ll want to prioritize items you likely have at home, like natural oils or extracts, while cross-referencing their benefits with credible research. This approach helps you build a serum that’s tailored and evidence-supported, minimizing risks.
-
Verify efficacy: Seek ingredients proven in studies to reduce wrinkles, like vitamin C’s collagen-boosting effects.
-
Check compatibility: Ensure they suit your skin type, avoiding irritants by reviewing potential reactions.
-
Assess purity: Opt for high-quality, unexpired sources to maintain potency and avoid contaminants.
-
Balance formulation: Select complementary elements that enhance stability, based on cautious scientific guidelines.
Prepare Supplies
Once you’ve selected your ingredients, focus on gathering a few key supplies to mix and store your serum effectively. You’ll need clean, non-reactive tools to ensure safety and efficacy, as studies show contamination can reduce potency. Always sterilize items to minimize bacterial risks, which evidence links to skin irritation.
To make this relatable, here’s a quick guide to your supplies:
| Supply Item | Purpose | Preparation Tips |
|---|---|---|
| Glass Bottle | Store serum securely | Wash with hot soapy water and air dry |
| Measuring Spoons | Ensure accurate ingredient doses | Calibrate and sterilize before use |
| Stirring Stick | Mix evenly for uniform texture | Use a clean, glass or silicone tool |
| Funnel | Transfer without waste | Rinse thoroughly to avoid residues |
| Labels | Track freshness and ingredients | Write details with waterproof ink |
Step-by-Step Mixing Instructions
You’ll start by gathering your ingredients as outlined, ensuring you have everything on hand for safety and efficiency.
Then, measure each one precisely, since accurate quantities help maintain the serum’s potential effectiveness based on standard formulations.
Finally, mix them thoroughly to create a uniform blend that supports the serum’s intended benefits.
To enhance the effects, consider integrating this serum into your DIY facial treatments as part of a broader natural approach.
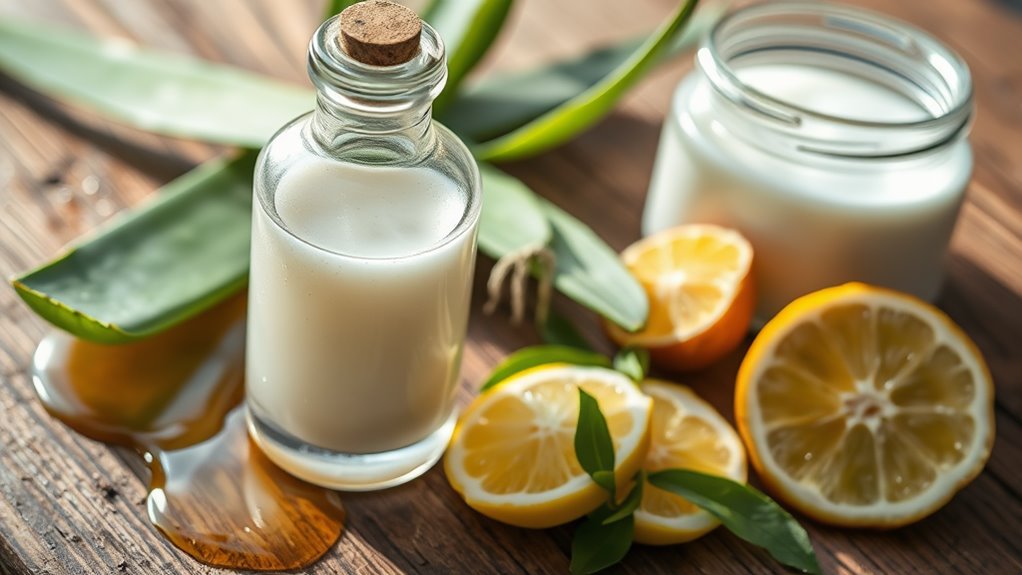
Gather Ingredients
To create your DIY anti-wrinkle serum, start by gathering a few key ingredients that form its base, ensuring they’re fresh and high-quality for best results. Freshness maximizes potential benefits, as research shows natural compounds like antioxidants can lose potency quickly, so check expiration dates and storage conditions to avoid irritation.
-
Aloe vera gel: Derived from the plant, it may hydrate and soothe skin, based on studies of its anti-inflammatory effects.
-
Raw honey: Evidence from dermatological research suggests it offers antibacterial properties that could support skin barrier function.
-
Vitamin E oil: Clinical trials indicate this antioxidant might protect against environmental damage, promoting a youthful appearance.
-
Coconut oil: As a natural emollient, it has been linked in studies to improved skin elasticity and moisture retention.
Measure Precisely
Accurate measurements ensure your DIY anti-wrinkle serum‘s potency, as imprecise quantities can alter its effects based on ingredient interactions.
You’ll need reliable tools like measuring spoons, cups, and a digital scale to avoid errors that could compromise results. For instance, use a level teaspoon to measure one teaspoon of honey, ensuring it’s not heaped, as excess can make the serum too sticky.
When handling liquids like aloe vera gel, employ a graduated cylinder or precise measuring cup for two tablespoons, preventing dilution that might weaken active compounds.
Evidence from formulation studies shows that slight deviations can disrupt ingredient synergy, so always verify against your list.
Opt for tools calibrated for accuracy, and record each measurement to maintain consistency in your routine. This cautious approach minimizes risks and maximizes potential benefits.
Mix Thoroughly
Mix your ingredients gently yet thoroughly to ensure even distribution, as uneven mixing can disrupt the serum’s efficacy and lead to inconsistent results.
This process helps blend the active components, like antioxidants and oils, for optimal absorption and reduced irritation risk, based on basic formulation principles. Always use a clean, non-reactive tool to prevent bacterial growth.
-
Start by stirring the base oil slowly with your chosen utensil to incorporate any added extracts without introducing air bubbles.
-
Gradually add the measured liquids, pausing to mix in circular motions until the texture evens out.
-
Check for separation every 30 seconds and continue blending; this minimizes clumping and ensures uniform potency.
-
Once smooth, give it a final gentle stir and test a small amount on your skin for immediate consistency.
Blending Techniques for Optimal Results
Although blending might seem straightforward, proper techniques ensure your DIY anti-wrinkle serum‘s ingredients combine evenly for better efficacy.
You’ll need to select the right tools, like a small whisk or glass stirrer, to minimize oxidation and preserve active compounds. Start by gently incorporating oils into your base mixture, using slow, circular motions to avoid creating foam that could alter texture.
Evidence from cosmetic formulation studies indicates that thorough, low-speed blending helps maintain ingredient potency, reducing separation over time. Don’t rush; blend until the mixture appears homogeneous, which might take a few minutes.
For thicker formulas, you can use a mini blender on a low setting, but always pulse briefly to prevent overheating. This cautious approach maximizes your serum’s stability, ensuring you’re not wasting your efforts.
Application Tips for Best Absorption
Once your serum is evenly blended, applying it correctly enhances absorption and maximizes benefits. This approach allows active ingredients, like antioxidants, to penetrate deeper into your skin layers, potentially improving efficacy based on dermatological studies.
While results vary, focusing on technique can help you get the most from your DIY creation.
-
Cleanse first: Gently wash your face to remove oils and impurities, which can block absorption and reduce ingredient effectiveness.
-
Use light pressure****: Pat the serum onto your skin with fingertips rather than rubbing, as this minimizes irritation and promotes better penetration.
-
Apply to damp skin: Use it on slightly moist skin post-cleansing, as this creates a barrier that aids ingredient uptake without overwhelming the epidermis.
-
Avoid heavy products: Follow with minimal layers, ensuring the serum has time to absorb fully before adding anything else, to maintain its potential benefits.
Daily Usage Recommendations
To optimize your skin’s response to this DIY anti-wrinkle serum, apply it once or twice daily, depending on your skin type and tolerance.
For instance, if you have sensitive skin, start with once a day in the evening to minimize potential irritation, as studies show excessive use can disrupt the skin barrier. Oily skin types might apply it mornings, while dry skin could handle twice-daily routines for better hydration.
Monitor your response closely; if you see reduced wrinkles or improved texture within weeks, that’s a positive sign. However, if redness or dryness appears, scale back immediately—everyone’s skin differs.
Always combine with sunscreen during the day, as this serum doesn’t offer UV protection. Consistency is key, but listen to your skin’s signals to avoid overuse, ensuring long-term benefits without harm.
Storage Methods to Preserve Effectiveness
Proper storage of your DIY anti-wrinkle serum maintains its potency and extends its shelf life, ensuring ingredients like vitamin C and oils remain effective against wrinkles.
You’ll avoid degradation from light, heat, or air exposure, which studies show can reduce antioxidant activity by up to 50% in just weeks.
-
Choose a cool, dark spot****: Store your serum in a refrigerator or cupboard away from sunlight to prevent oxidation, as heat accelerates breakdown.
-
Use airtight containers****: Transfer mixtures into dark glass bottles with tight seals; this limits air contact, preserving efficacy based on formulation research.
-
Label with dates: Mark the creation date on your container, checking for changes every two weeks to catch any spoilage early.
-
Avoid contamination: Always use clean tools when handling the serum; this minimizes bacterial growth, keeping your blend safe and potent.
Variations for Personalized Formulas
With your serum stored effectively, you can tweak the formula to match your skin’s unique needs, drawing from research on ingredient interactions.
For dry skin, add hyaluronic acid sources like aloe vera, as studies show it enhances moisture without irritation.
If you have oily skin, incorporate green tea extract, which evidence suggests helps regulate sebum production due to its antioxidants.
For sensitive types, dilute essential oils like lavender, backed by research indicating anti-inflammatory effects, but always patch test first to prevent reactions.
To target aging, include vitamin E from oils, as trials link it to collagen support, though results vary.
Remember, personalize cautiously—avoid overmixing to maintain pH balance, and consult a dermatologist if you notice issues, as individual responses differ based on evidence.
These adjustments aren’t guaranteed fixes but can optimize your routine safely. Moreover, by focusing on cost-effective customization, you can make your skincare routine more accessible and tailored to your lifestyle.
For those with skin rashes, incorporating soothing elements like aloe vera can draw from natural overnight remedies to provide additional relief.