The Tonic That Helped Me Flush Out Toxins Fast
My Journey to Detoxification
When I first decided to embark on my detoxification journey, I wasn’t entirely sure what to expect. Exploring various options, I stumbled upon a liver detox tonic that promised to cleanse and rejuvenate. Intrigued, I integrated it into my routine. As I continued, I felt lighter and more energized, realizing this tonic was key to restoring my well-being and flushing out toxins effectively. Additionally, I learned that incorporating safe home remedies can further enhance the liver’s natural detoxification process.
Key Ingredients of the Tonic
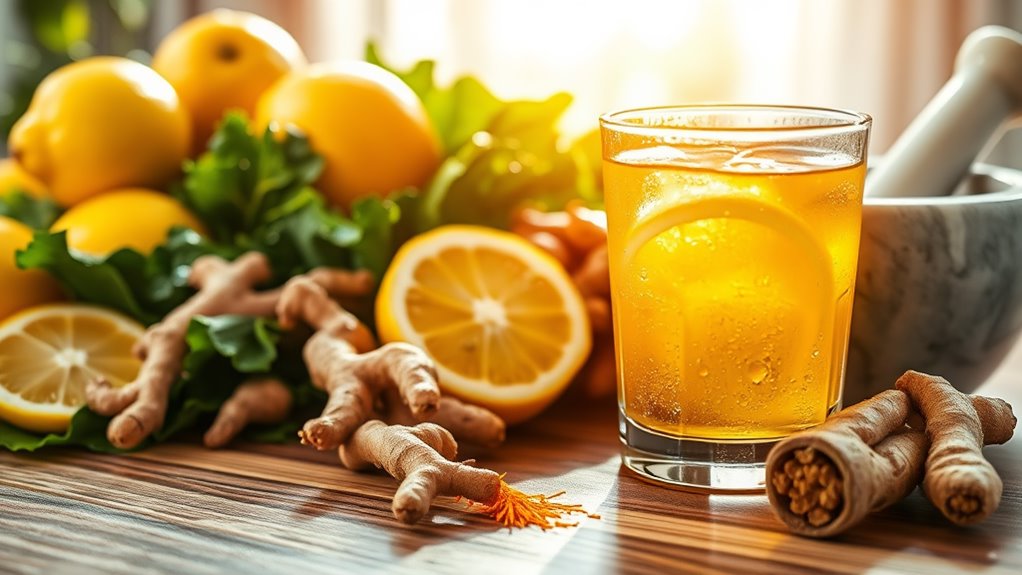
The liver detox tonic is packed with several key ingredients that play a crucial role in flushing out toxins from your body.
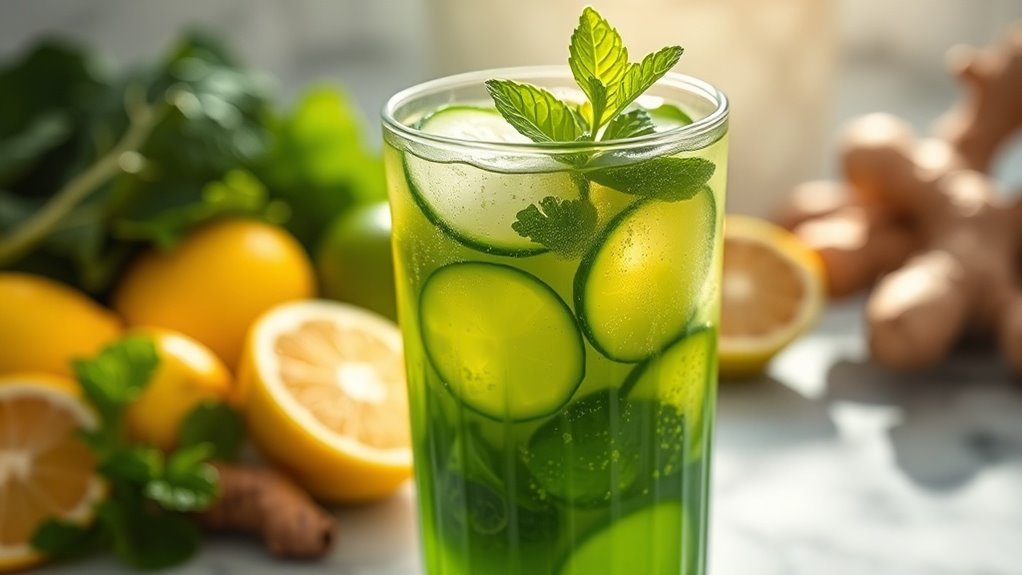
Key components like milk thistle support liver health, while dandelion root promotes bile production.
Lemon juice adds a refreshing zing and aids digestion.
Together, these ingredients create a powerful blend to help you feel rejuvenated and energized. Additionally, incorporating gentle overnight detox techniques can enhance the overall effectiveness of your liver cleansing routine.
Health Benefits of the Detox Tonic
The detox tonic offers a range of health benefits you’ll love. Not only can it boost your immune system, but it also enhances digestion and improves your skin’s health. Incorporating this tonic into your routine might just be the refresh you’re looking for! Additionally, it can support gentle liver health by promoting proper liver function and maintaining overall well-being.
Immune System Support
As your body works to flush out toxins, it also reinforces your immune system, enhancing your overall health.
By incorporating the detox tonic, you can enjoy benefits like:
- Increased antioxidant levels that fight free radicals
- Boosted white blood cell production for improved defense
- Enhanced nutrient absorption to support immune function
These elements work together, making you more resilient against illnesses and infections.
Enhanced Digestion Process
Support your digestive health with a detox tonic, which offers multiple benefits for your gut.
This tonic works to stimulate the production of digestive enzymes, helping your body break down food more efficiently.
By promoting regular bowel movements, it can alleviate bloating and discomfort.
Incorporating it into your routine may also enhance nutrient absorption, leading to better overall health and vitality.
Skin Health Improvement
A detox tonic not only aids digestion but also plays a key role in improving your skin health.
By incorporating it into your routine, you can experience benefits like:
- Reduced inflammation and redness
- Enhanced hydration and glow
- Improved elasticity and firmness
These factors contribute to a clearer complexion and a youthful appearance.
Make this tonic a staple, and watch your skin thrive.
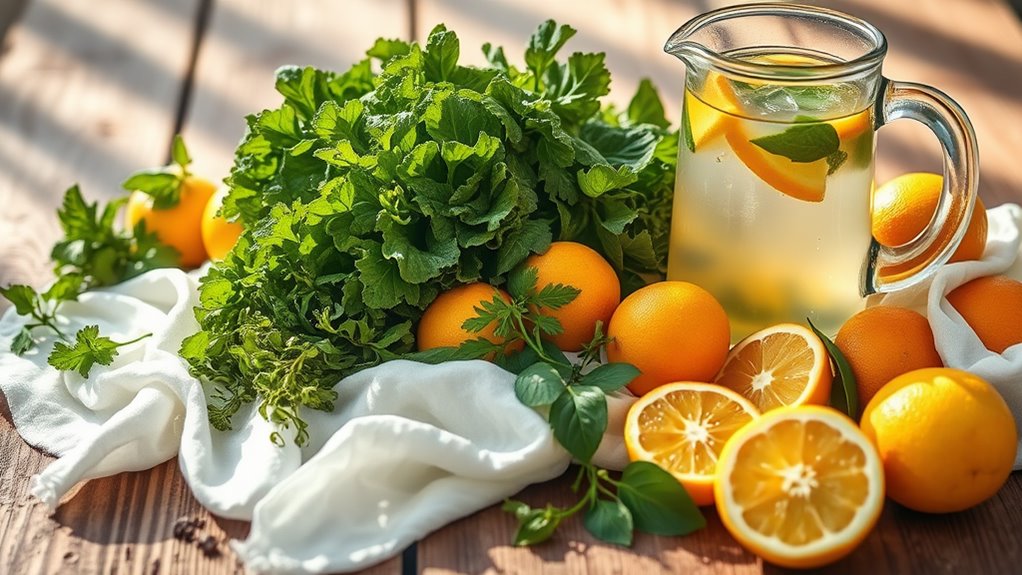
How to Prepare the Tonic
To create an effective tonic for flushing out toxins, you’ll need to gather a few key ingredients that work harmoniously together.
Start with fresh lemon juice, a tablespoon of raw honey, and a pinch of cayenne pepper.
Mix them into a glass of warm water.
Stir well, and you’ll have a refreshing, detoxifying tonic that’s easy to prepare and enjoy daily! Including leafy greens in your diet alongside this tonic can further enhance your body’s natural detoxification processes.
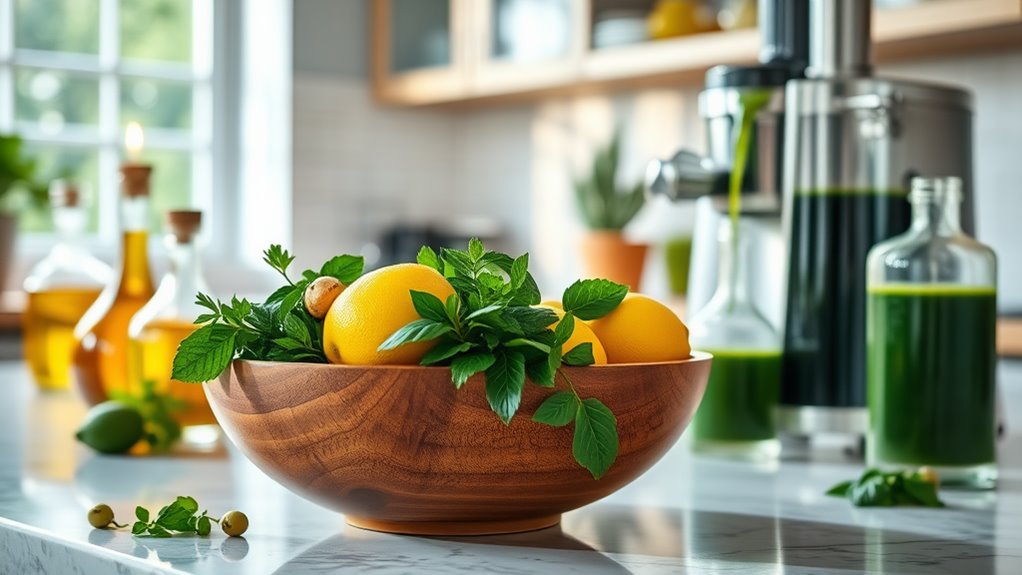
Tips for Incorporating the Tonic Into Your Routine
Incorporating the detoxifying tonic into your daily routine can be both easy and rewarding.
Try these tips to make it seamless:
-
Start your day: Drink it every morning for a refreshing boost.
-
Pair it with meals: Enjoy it during lunch or dinner to enhance digestion.
-
Stay consistent: Set a reminder to keep your routine on track.
You’ll quickly notice the benefits in your overall well-being!
My Results and Recommendations
After just a few weeks of incorporating this detoxifying tonic into my routine, I’ve experienced noticeable improvements in my energy levels and digestion.
You’ll likely feel the benefits too! I recommend starting with a small serving, then gradually increasing it. Additionally, incorporating dietary changes can enhance your body’s ability to eliminate heavy metals during the detox process.
Pair it with a balanced diet and plenty of water for optimal results. Trust me, your body will thank you!