This DIY Balm Stopped My Cold in Its Tracks
Understanding Cold Symptoms
When you catch a cold, it’s essential to recognize the symptoms so you can take action quickly.
Common signs include a runny nose, sore throat, and mild fatigue.
If you experience these, don’t wait too long to start treating yourself.
A natural cold balm can help soothe your symptoms and support your recovery, making you feel better sooner rather than later. Additionally, evidence-based home remedies can provide effective relief from common cold symptoms.
Ingredients You’ll Need
To create an effective DIY balm for colds, you’ll need a mix of powerful essential oils and natural ingredients.
These components not only enhance the balm’s soothing properties but also provide a refreshing aroma that can help clear your sinuses.
Let’s explore the benefits of each ingredient and how they work together to alleviate your cold symptoms.
Essential Oils Benefits
Essential oils play a crucial role in creating an effective DIY balm for colds, offering a wide range of therapeutic benefits. They can help ease congestion, relieve headaches, and promote relaxation. Here’s a quick overview of some useful essential oils:
| Essential Oil | Benefits | Usage |
|---|---|---|
| Eucalyptus | Eases congestion | Inhalation or topical |
| Peppermint | Relieves headaches | Topical application |
| Tea Tree | Antimicrobial properties | Topical application |
| Lavender | Promotes relaxation | Inhalation or topical |
Natural Ingredients Overview
Gathering the right ingredients is essential for crafting your own DIY cold balm, as each component contributes to its soothing effectiveness.
You’ll need beeswax for a solid base, coconut oil for moisturization, and essential oils like eucalyptus and peppermint for their antiviral properties.
Additionally, consider adding shea butter for extra nourishment.
Together, these natural ingredients create a powerful remedy for your cold symptoms.
Step-by-Step Preparation
Start by assembling your ingredients and supplies to create an effective DIY balm for colds.
You’ll need coconut oil, beeswax, and essential oils like eucalyptus and peppermint for their soothing properties.
Measure each ingredient carefully, then melt the beeswax and coconut oil together.
Once melted, stir in the essential oils.
Pour the mixture into a container and let it cool completely before use.
Application Tips for Best Results
To get the most out of your DIY cold balm, start by cleansing the area where you’ll apply it.
Focus on the affected regions for maximum relief, and think about the timing of your application to enhance its effectiveness.
With these tips, you’ll ensure that your balm provides the best support during your cold.
Cleanse Before Application
Before applying your DIY balm for colds, it’s essential to cleanse your skin thoroughly to ensure optimal absorption and effectiveness.
Use a gentle cleanser to remove dirt, oil, and impurities. This pre-application step enhances the balm’s absorption, allowing the active ingredients to penetrate deeper.
Clean skin not only boosts effectiveness but also helps avoid potential irritation, ensuring your cold relief is maximized.
Target Affected Areas
While every cold may strike differently, targeting the most affected areas with your DIY balm can significantly enhance your relief.
Focus on your chest and throat to ease congestion, or apply it to your temples and sinuses for headaches. A gentle massage can improve absorption, helping your body utilize the balm more effectively.
Timing for Best Effect
Applying your DIY balm at strategic times can maximize its effectiveness, especially when you’re feeling under the weather.
For best results, apply the balm before bed to support overnight healing and during the day for quick relief.
Reapplying every few hours helps maintain its soothing effects.
Listen to your body; if you feel symptoms returning, don’t hesitate to apply more!
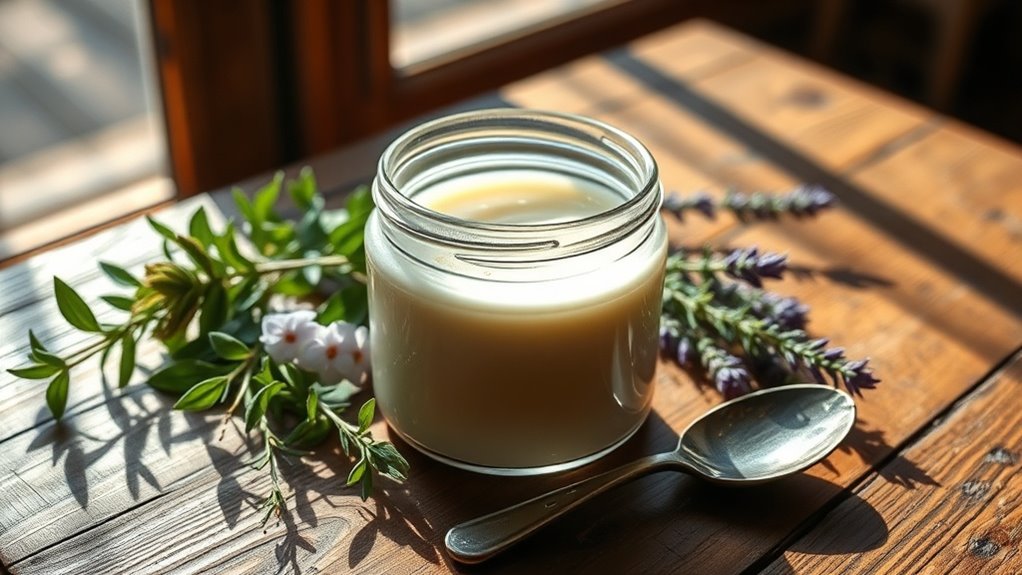
Storage and Shelf Life
To ensure your DIY cold balm remains effective, proper storage and attention to its shelf life are essential. Keep it in a cool, dark place, away from moisture. Generally, your balm will last about six months, but always check for changes in color or smell.
| Storage Method | Shelf Life |
|---|---|
| Room temperature | 3–6 months |
| Refrigerated | 6–12 months |
| Freezer | 1 year |
| In airtight container | Extended |
| Check regularly | Essential |
Additional Remedies to Consider
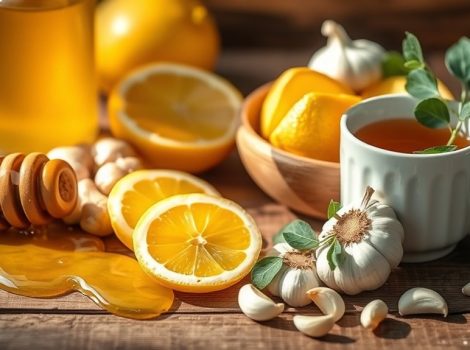
When battling the discomfort of a cold, combining your DIY balm with additional remedies can enhance your recovery.
Consider using honey for its antibacterial properties, consuming garlic for its immune-boosting effects, and staying hydrated to thin mucus.
Warm herbal teas soothe your throat, while steam inhalation helps clear congestion. Incorporating raw honey into your regimen can provide relief, as it is known for its effectiveness in alleviating flu symptoms.
These simple additions can complement your balm, providing a more effective approach to wellness.