My Favorite DIY Mask for Clear, Glowing Skin
If you’re looking for a simple yet effective way to achieve clear, glowing skin, a DIY mask might be just what you need. This particular mask combines natural ingredients that nourish, exfoliate, and hydrate your skin. With just a few components, you can create a treatment that revitalizes your complexion. Curious about how to make it and what benefits each ingredient offers? Let’s explore the details further.
Benefits of a DIY Mask
Creating a DIY mask offers a range of benefits that can enhance your skincare routine. First, customizing your mask allows you to select ingredients that directly address your skin concerns, from dryness to dullness.
A glowing skin mask not only hydrates but also brightens and evens out your complexion. You’ll find that many DIY masks use all-natural ingredients, reducing your exposure to harsh chemicals found in commercial products. This means you’re less likely to irritate your skin, promoting a healthier glow.
Additionally, the process of making and applying the mask can be therapeutic, providing a moment of self-care in your busy day. Ultimately, embracing DIY masks empowers you to achieve your best skin while enjoying a fun, creative experience. Furthermore, using natural ingredients can deliver nutrients that support skin health and enhance overall radiance.
Key Ingredients for Glowing Skin
To achieve glowing skin, you’ll want to focus on key ingredients that promote both exfoliation and hydration.
Natural exfoliants, like sugar or oatmeal, help remove dead skin cells, revealing a brighter complexion.
Meanwhile, incorporating hydrating elements, such as honey or aloe vera, ensures your skin remains plump and radiant. Additionally, using natural anti-aging ingredients can enhance the rejuvenating effects of your face mask.
Natural Exfoliants Benefits
Natural exfoliants play a crucial role in achieving and maintaining glowing skin, as they help to remove dead skin cells, unclog pores, and promote cell renewal.
By incorporating natural exfoliants into your skincare routine, you can enjoy several benefits:
-
Brightening Effect: They enhance your skin’s radiance by sloughing off dull, lifeless cells.
-
Smoother Texture: Regular use helps you achieve a more refined, even skin texture.
-
Clogged Pores: Natural exfoliants prevent breakouts by keeping your pores clean and clear.
-
Skin Renewal: They stimulate new cell growth, allowing for healthier and younger-looking skin.
Hydration for Radiance
Exfoliation can pave the way for hydration, as removing dead skin cells allows moisturizers to penetrate more effectively. Hydration is essential for achieving and maintaining glowing skin. Incorporate these key ingredients to maximize your skin’s radiance:
| Ingredient | Benefits | Use |
|---|---|---|
| Hyaluronic Acid | Retains moisture, plumping skin | Use in serums or moisturizers for deep hydration |
| Aloe Vera | Soothes and hydrates | Apply directly from the plant or use in gels |
| Glycerin | Attracts moisture to skin | Mix with your favorite mask for added hydration |
| Jojoba Oil | Mimics skin’s natural oils | Use as a moisturizer for a radiant finish |
Together, these ingredients can transform your skin, ensuring it looks fresh and vibrant.
Step-by-Step Preparation
To create your DIY mask, start by gathering all the necessary ingredients you’ll need for optimal results. Once you have everything ready, you’ll focus on the mixing and application techniques that will ensure your mask performs effectively. Additionally, be sure to select ingredients that cater to your specific skin type for optimal results and to maximize the benefits of your mask. Let’s go through each step to help you achieve clear, glowing skin.
Gather Necessary Ingredients
Creating a DIY mask for clear skin starts with gathering the right ingredients that suit your skin type and desired outcome. The following essentials will provide a solid foundation for your mask:
- Honey: Known for its antibacterial properties, honey hydrates and helps reduce acne.
- Yogurt: Packed with probiotics, yogurt exfoliates and brightens the skin.
- Oatmeal: This soothing ingredient calms irritation and absorbs excess oil.
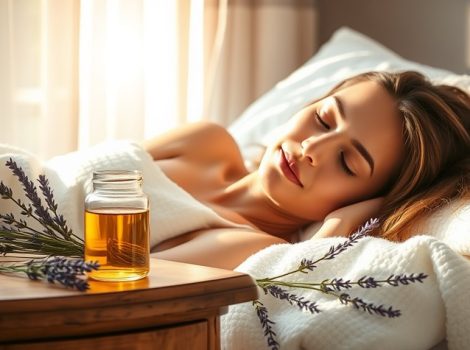
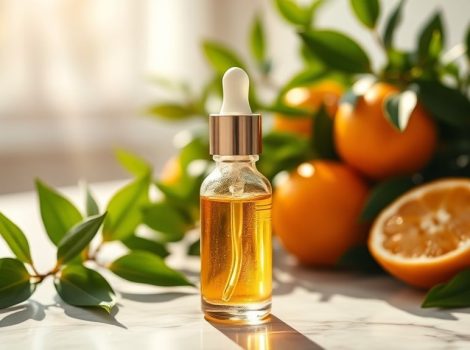
- Essential Oil (like tea tree or lavender): A few drops can enhance the mask’s effectiveness and add a pleasant aroma.
Mixing and Application Techniques
Start by combining your chosen ingredients in a clean mixing bowl. If you’re using a mask with a base like yogurt or honey, add them first.
Then, incorporate any powders, like turmeric or clay, and mix thoroughly until you achieve a smooth consistency. You can use a whisk or a spatula for even blending.
Once your mask is well-mixed, do a patch test on a small area of your skin to check for any adverse reactions.
After ensuring it’s safe, apply the mask evenly across your face, avoiding the eye area. Use gentle circular motions to enhance absorption, and let it sit for 10-15 minutes before rinsing off with lukewarm water for optimal results.
Enjoy your radiant complexion!
Application Tips for Best Results
Achieving the best results from your DIY mask for clear skin hinges on proper application techniques. Follow these tips to maximize the benefits of your mask:
-
Start with Clean Skin: Wash your face thoroughly to remove dirt and oils, enabling the mask to penetrate effectively.
-
Even Application: Use a brush or your fingertips to apply the mask evenly, avoiding areas around the eyes and lips for better comfort.
-
Use the Right Amount: A thin, even layer is ideal. Too much product can clog pores and lessen effectiveness.
-
Follow Recommended Time: Leave the mask on for the suggested duration to allow the ingredients to work without over-drying your skin.
Additionally, it’s important to consider your skin type and choose ingredients that suit your needs, as different skin types react variously to mask formulations.
Frequency of Use
Determining how often to use your DIY mask for clear skin can significantly impact its effectiveness. Ideally, you should apply the mask once or twice a week. This frequency allows your skin to benefit from the mask’s active ingredients without overwhelming it.
If your skin is particularly oily or prone to breakouts, you might consider using it twice weekly, while normal to dry skin types may find once a week sufficient for optimal results. Always listen to your skin; if you notice irritation or excessive dryness, reduce the frequency. Additionally, incorporating natural remedies for eczema can further enhance your skin health and provide soothing relief for any irritation.
Additional Skincare Tips
While using a DIY mask can be beneficial for achieving clear skin, incorporating additional skincare tips can enhance your results and promote overall skin health.
Here are four essential tips to consider:
-
Hydrate: Drink plenty of water throughout the day to keep your skin hydrated and maintain its elasticity.
-
Exfoliate: Use a gentle exfoliator 1-2 times a week to remove dead skin cells, allowing your skin to look fresh and radiant.
-
Moisturize: Apply a suitable moisturizer daily to lock in moisture and create a protective barrier against environmental stressors.
-
Sunscreen: Never skip sunscreen, even on cloudy days, as UV rays can accelerate aging and lead to skin issues.
Additionally, adopting a consistent routine that includes a comprehensive guide can further help in reducing the appearance of wrinkles and promoting youthful skin.
Implementing these tips will elevate your skincare routine significantly!